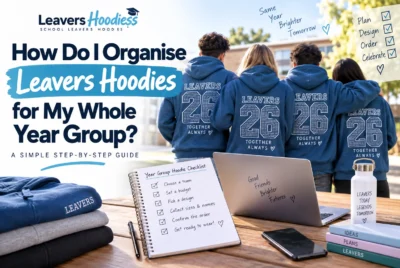
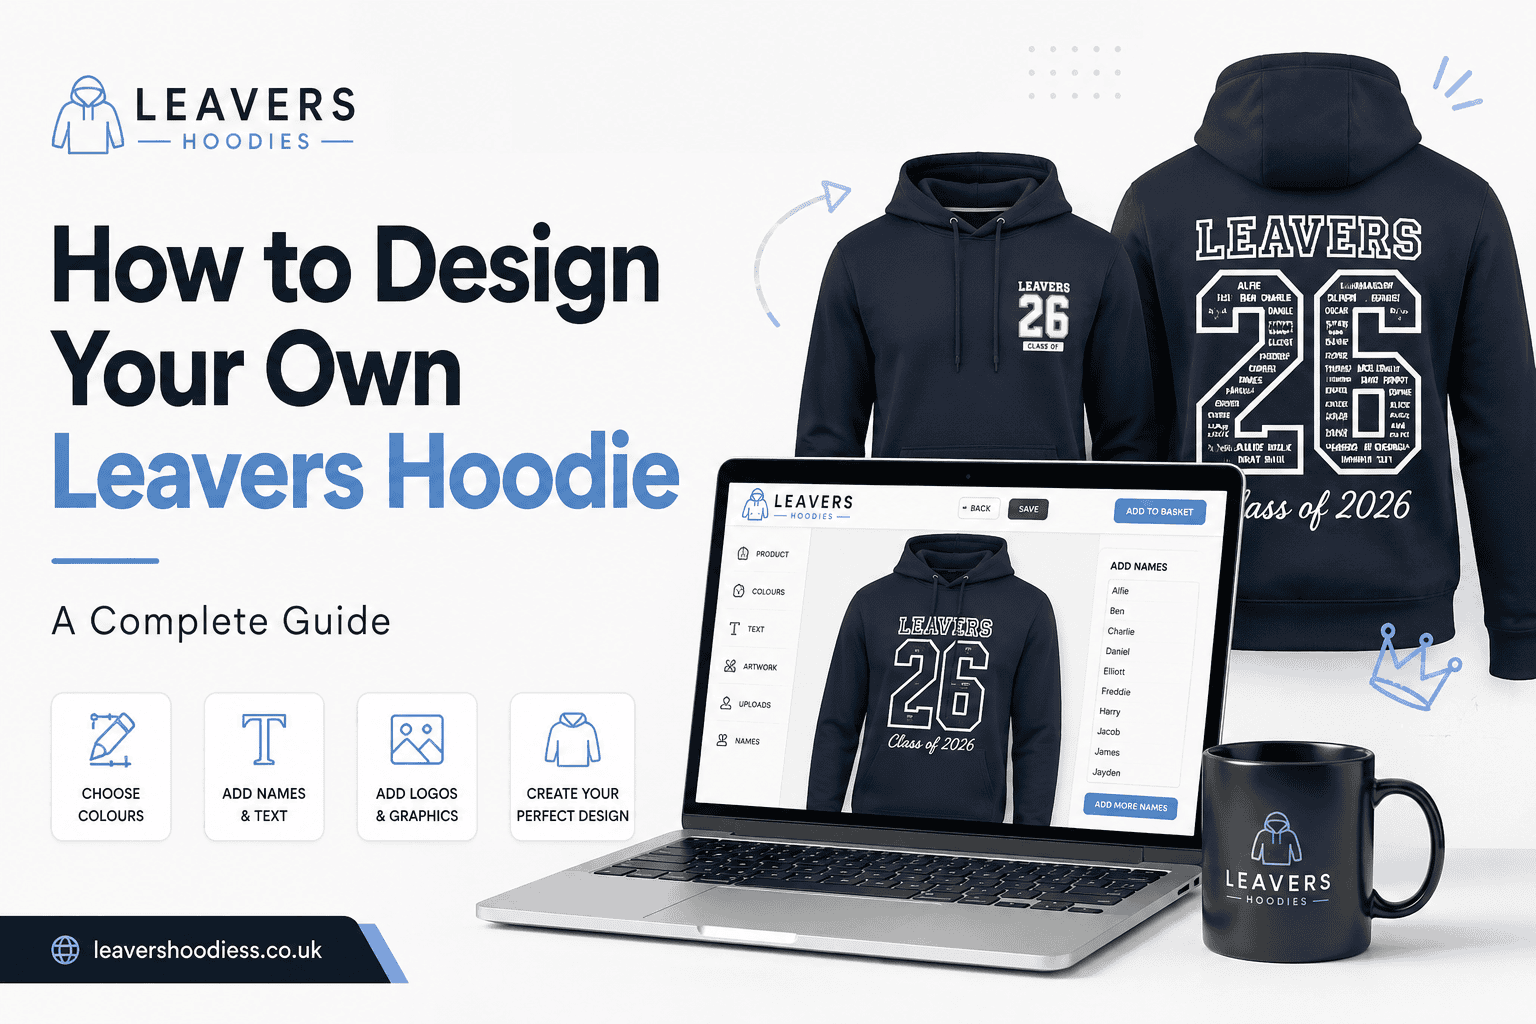
Designing your own leavers hoodie is one of the best ways to create something your whole year group can keep as a reminder of school for years to come.
Whether you’re in Year 11, Year 12 or Year 13, the best leavers hoodies combine personal names, memorable dates, school details and a design that represents your year group.
But where do you start?
From choosing the right hoodie colour and deciding where to put everyone’s names to selecting fonts, graphics and colours, there are plenty of decisions to make.
In this guide, we’ll show you how to design your own leavers hoodie from start to finish, including ideas for creating a leavers hoodie designs that looks great and works well when printed. So let us jump right into How to design your own leavers hoodie!
What Should You Put on a Leavers Hoodie?
Before designing your hoodie, think about what you want it to represent.
A good leavers hoodie might include:
- Your school name
- Your year group
- Your leaving year
- Student names
- Nicknames
- A school logo
- Class or tutor group
- A memorable quote
- Inside jokes
- A list of teachers
- Important dates
- Graphics or illustrations
- A message from your year group
You don’t need to include everything.
The best designs usually have a clear main idea rather than trying to fit too many different elements onto one hoodie.
For example, you might have a large “Year 11 • 2026” design on the back, with student names arranged around it.
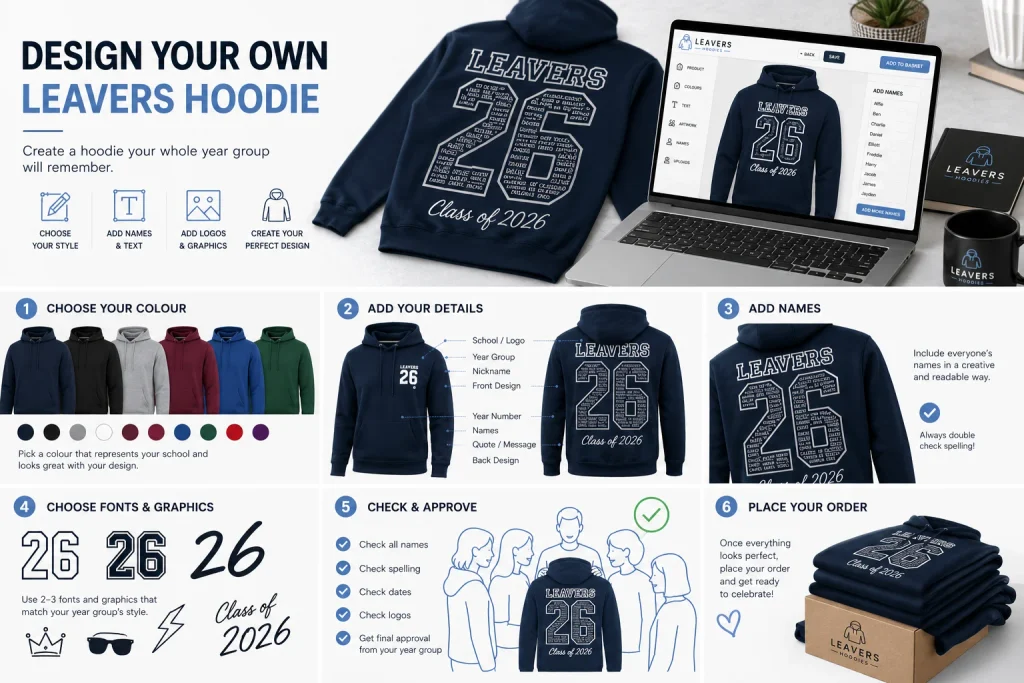
1. Choose Your Leavers Hoodie Colour
The hoodie colour should be one of the first decisions you make.
Popular choices include:
- Black
- Navy
- Grey
- Burgundy
- Royal blue
- Green
- Red
- Purple
- White
Think about how your design will look against the hoodie.
A bright design can stand out particularly well on a dark hoodie, while darker text and graphics may work better on lighter colours.
If your school has specific colours, you can also use those colours within the design to create a stronger connection with your school.
Keep the whole year group in mind
Remember that you’re not designing a hoodie for just one person.
If you’re organising school leavers hoodies for an entire year group, choose a colour and design that most students will be happy wearing.
It can be useful to let students vote on a shortlist of colours before you start the final design.
2. Decide What Goes on the Front
The front of your hoodie doesn’t need to be complicated.
Some popular options include:
Left chest:
- School logo
- Initials
- Year group
- Small graphic
Centre front:
- School name
- “Leavers 2026”
- Year group design
Full front:
- Large graphic
- School illustration
- Year-group artwork
If you’re creating a more detailed design for the back, keeping the front relatively simple can make the hoodie look more balanced.
3. Create a Standout Back Design
For many leavers hoodies, the back is where the main design goes.
This gives you more space for names, graphics and other details.
One popular approach is to make the year group the centrepiece.
For example:
LEAVERS
2026
Then you could arrange student names around the main design.
Another option is to create a large graphic representing your school, town or year group.
Learn to fit a class list inside year numbers
You could also combine:
- Year number
- School name
- Student names
- Nicknames
- School logo
- Quotes
- Illustrations
The key is to establish a visual hierarchy so that the most important information is easy to see.
4. Add Everyone’s Names
Names are one of the most important parts of a personalised leavers hoodie.
You could list everyone’s names on the back, arrange them around the main design or create a more creative pattern.
For example:
Classic list
Alex
Amelia
Ben
Charlie
Daniel
Year-group design
Place all the names around a large 2026.
Name cloud
Use different sizes and angles to create a more informal design.
Class groups
Separate names into tutor groups or classes.
Check the spelling carefully
This is particularly important when creating a hoodie for a whole year group.
Before sending the design for printing, create a final list and ask students to check:
- Spelling
- Capitalisation
- Nicknames
- Initials
- Year group
- Teacher names
- School name
One small spelling mistake can be disappointing when the hoodies arrive, so it’s worth taking the time to proofread everything.
5. Choose the Right Fonts
Typography can completely change the look of a leavers hoodie.
You might want a:
- Bold font for the year number
- Handwritten font for a personal message
- Clean font for names
- School-style font for the main heading
Try not to use too many fonts in one design.
Two or three complementary fonts are usually enough.
Most importantly, make sure the names and other smaller text are easy to read.
A font might look great on your computer but become difficult to read once it’s printed at a smaller size.
6. Pick Your Design Colours
Your hoodie doesn’t need to use dozens of colours.
In fact, a simple colour palette can often look more professional.
Consider using:
School colours + white
or
Two contrasting colours + a neutral
For example, if your school colours are blue and white, you could use those colours throughout the design instead of introducing lots of unrelated shades.
Think about contrast too.
Text needs to stand out clearly from the hoodie underneath it.
7. Add Personal Details
This is where your leavers hoodie can become genuinely unique.
Think about the things that defined your year group.
You could include:
- A memorable school trip
- A year-group slogan
- A favourite phrase
- A funny teacher quote
- A school tradition
- Your graduation or leaving year
- A significant event
- A mascot
- A class nickname
- An inside joke
These details can turn a standard school hoodie into something that actually feels like your year.
Just remember that anything included on the final design should be something the whole group is comfortable wearing.
Leavers Hoodie Design Ideas
Not sure what style to choose?
Here are some ideas to get you started.
1. Big Year Number
Make your year the main feature.
For example:
2026
Place names, school details or graphics inside and around the numbers.
2. Minimalist School Design
Keep things simple with:
- School initials
- Year group
- Small logo
- Leaving year
This works well if your group prefers a more understated hoodie.
3. Full Name Design
Use the names of everyone in the year group to create the main graphic.
You could arrange the names into a circle, shape or large number.
4. School Illustration
Turn a recognisable part of your school into a graphic.
This could be:
- The school building
- School gates
- A mascot
- A clock tower
- A local landmark
5. Front and Back Combination
Use a small design on the front and a larger design on the back.
For example:
Front: School logo + “Leavers 2026”
Back: Large year number + all student names.
This gives the hoodie a clean but personalised appearance.
How to Design Your Own Leavers Hoodie Online
Designing your own leavers hoodie online can make the process much easier, particularly when you’re organising hoodies for a large group.
Instead of creating the artwork completely from scratch, you can start with a leavers hoodie template and customise the important elements.
A typical online design process might look like this:
Step 1: Choose your hoodie
Select your preferred hoodie style, colour and size options.
Step 2: Choose your design
Start with a blank design or an existing template.
Step 3: Add your year group
Add details such as:
Leavers 2026
or
Year 13 • Class of 2026
Step 4: Add names
Enter the names of students who want to appear on the hoodie.
Step 5: Add graphics
Upload or select appropriate graphics, logos or illustrations.
Using school logos and graphics: If you’re adding a school logo or other artwork to your leavers hoodie, make sure you have permission to use it. Copyright-protected material generally cannot simply be copied or reused without permission.
Step 6: Adjust the layout
Move the elements around until everything is balanced and easy to read.
Step 7: Proofread
Check every name and piece of text before approving the final design.
Step 8: Get the group to approve it
If you’re organising the hoodies for your year group, show everyone the final design before ordering.
Should You Use a Leavers Hoodie Template?
A template can be a great starting point if you’re not confident with graphic design.
Rather than worrying about creating a complete design from a blank canvas, you can use an existing layout and customise:
- Names
- Year
- School
- Colours
- Fonts
- Graphics
- Messages
The important thing is to personalise the template rather than simply using it unchanged.
Your year group should be able to look at the finished hoodie and immediately recognise it as theirs.
Common Leavers Hoodie Design Mistakes
Even a great idea can go wrong if the final design isn’t checked properly.
Here are some mistakes to avoid.
Trying to include too much
More information doesn’t necessarily make a better hoodie.
If the design contains too many graphics, colours and different fonts, it can become difficult to read.
Making the names too small
If you’re including dozens of names, make sure they’re still readable.
Don’t sacrifice legibility just to squeeze another element into the design.
Using poor-quality graphics
Low-resolution images can look blurry when printed.
Use suitable artwork and check the design at its intended print size.
Forgetting about different hoodie colours
If students can choose different hoodie colours, make sure the design works across those colours.
Skipping the final proof
Always check the final artwork carefully before printing.
How to Organise Leavers Hoodies for Your Year Group
Designing the hoodie is only part of the process.
If you’re ordering for an entire year group, you’ll also need to organise:
- The final design
- Student names
- Hoodie colours
- Sizes
- Quantities
- Payments
- Delivery details
- Final approval
It’s useful to nominate one or two people to coordinate the order rather than having lots of students making changes independently.
Create one final master list of names, sizes and colours so there’s a single source of truth when the order is placed.
Make Your Own Leavers Hoodie
Creating your own leavers hoodie doesn’t have to mean being an expert designer.
Start with the basics: choose a hoodie colour, decide what information you want to include, create a clear front and back layout, add your names and personalise the design with details that represent your year group.
If you’re using an online hoodie designer, templates can make the process even easier while still giving you plenty of room to create something unique.
The most important thing is to involve your year group before the final design is approved. After all, a leavers hoodie is something you’re creating to remember your school years together.
Frequently Asked Questions
What should I put on a leavers hoodie?
Popular choices include your school name, year group, leaving year, student names, nicknames, school logo, quotes and graphics that represent your year.
Can I design my own leavers hoodie online?
Yes. Online hoodie design tools can allow you to customise elements such as colours, text, names, graphics and layouts before ordering.
What makes a good leavers hoodie design?
A good design is personal, easy to read and visually balanced. It should include meaningful details without becoming overcrowded.
How do I fit everyone’s names on a leavers hoodie?
You can arrange names in a list, around a large year number, within a graphic or in a name-cloud style design. Make sure the final text remains readable.
Can I use a leavers hoodie template?
Yes. A template can provide a useful starting point, particularly if you’re not experienced with graphic design. You can then customise the colours, names, text and graphics.